Surface Preparation 101: Necessary Step for Long-Lasting Commercial Floors
When it comes to commercial flooring, the foundation you build upon is just as important as the flooring system itself. Surface preparation is a vital step in ensuring your flooring stands the test of time, maintaining both durability and aesthetics. Skipping or skimping on this process can lead to costly repairs, safety issues, and a shortened lifespan for your floors. Here’s everything you need to know about surface preparation and why it’s important for long-lasting commercial floors.
Why Is Surface Preparation Important?
Surface preparation is all about creating the ideal base for your chosen flooring system to bond. It involves removing contaminants, leveling imperfections, and ensuring proper adhesion for coatings or overlays. Without a well-prepped surface, even the highest-quality flooring materials can prematurely fail.
Did You Know? Improper surface prep is one of the leading causes of flooring failure. Studies show that poor adhesion accounts for 80% of issues with coatings or overlays on concrete floors.
Benefits of Proper Surface Preparation:
- Improved Adhesion
Prepping the surface creates a clean, textured profile that helps flooring systems bond more effectively. This helps your new floor stay intact and performs as expected over time. - Durability
A well-prepared surface can withstand heavy loads, high foot traffic, and environmental stresses much better than an unprepared one. - Increased Safety
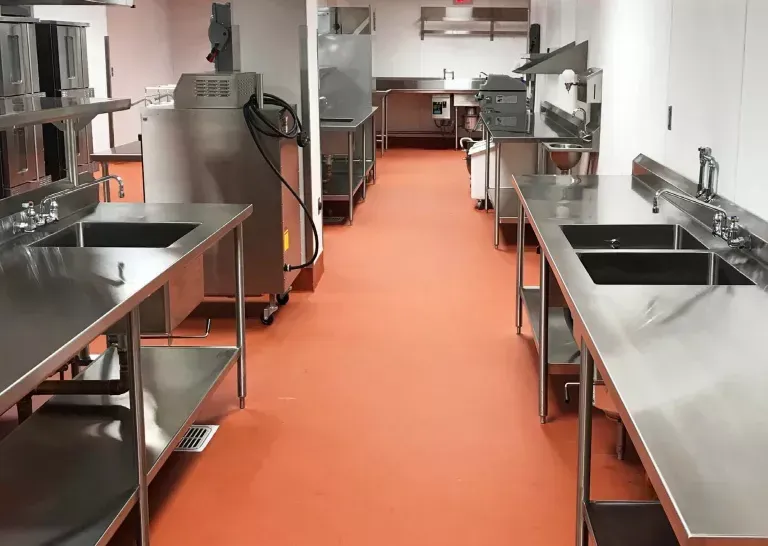
Smooth and even surfaces reduce the risk of slips, trips, and falls, keeping your workplace safe for employees and visitors alike. - Aesthetic Appeal
Surface prep provides flawless finishes, resulting in a professional and polished look that reflects positively on your business.
Steps in the Surface Preparation Process
Achieving the perfect surface involves a detailed process tailored to your specific flooring needs. Here’s an overview of the major steps:
Step 1. Assessment of Existing Conditions
A professional evaluates the current state of the floor. Are there cracks, old coatings, or contaminants like grease? The type of flooring previously installed, traffic levels, and environmental conditions all factor into the process.
Step 2. Cleaning the Surface
Depending on surface condition, this step removes oils, debris, and other contaminants that could interfere with mechanical prep. Methods like scrubbing, pressure washing, or chemical degreasers might be used.
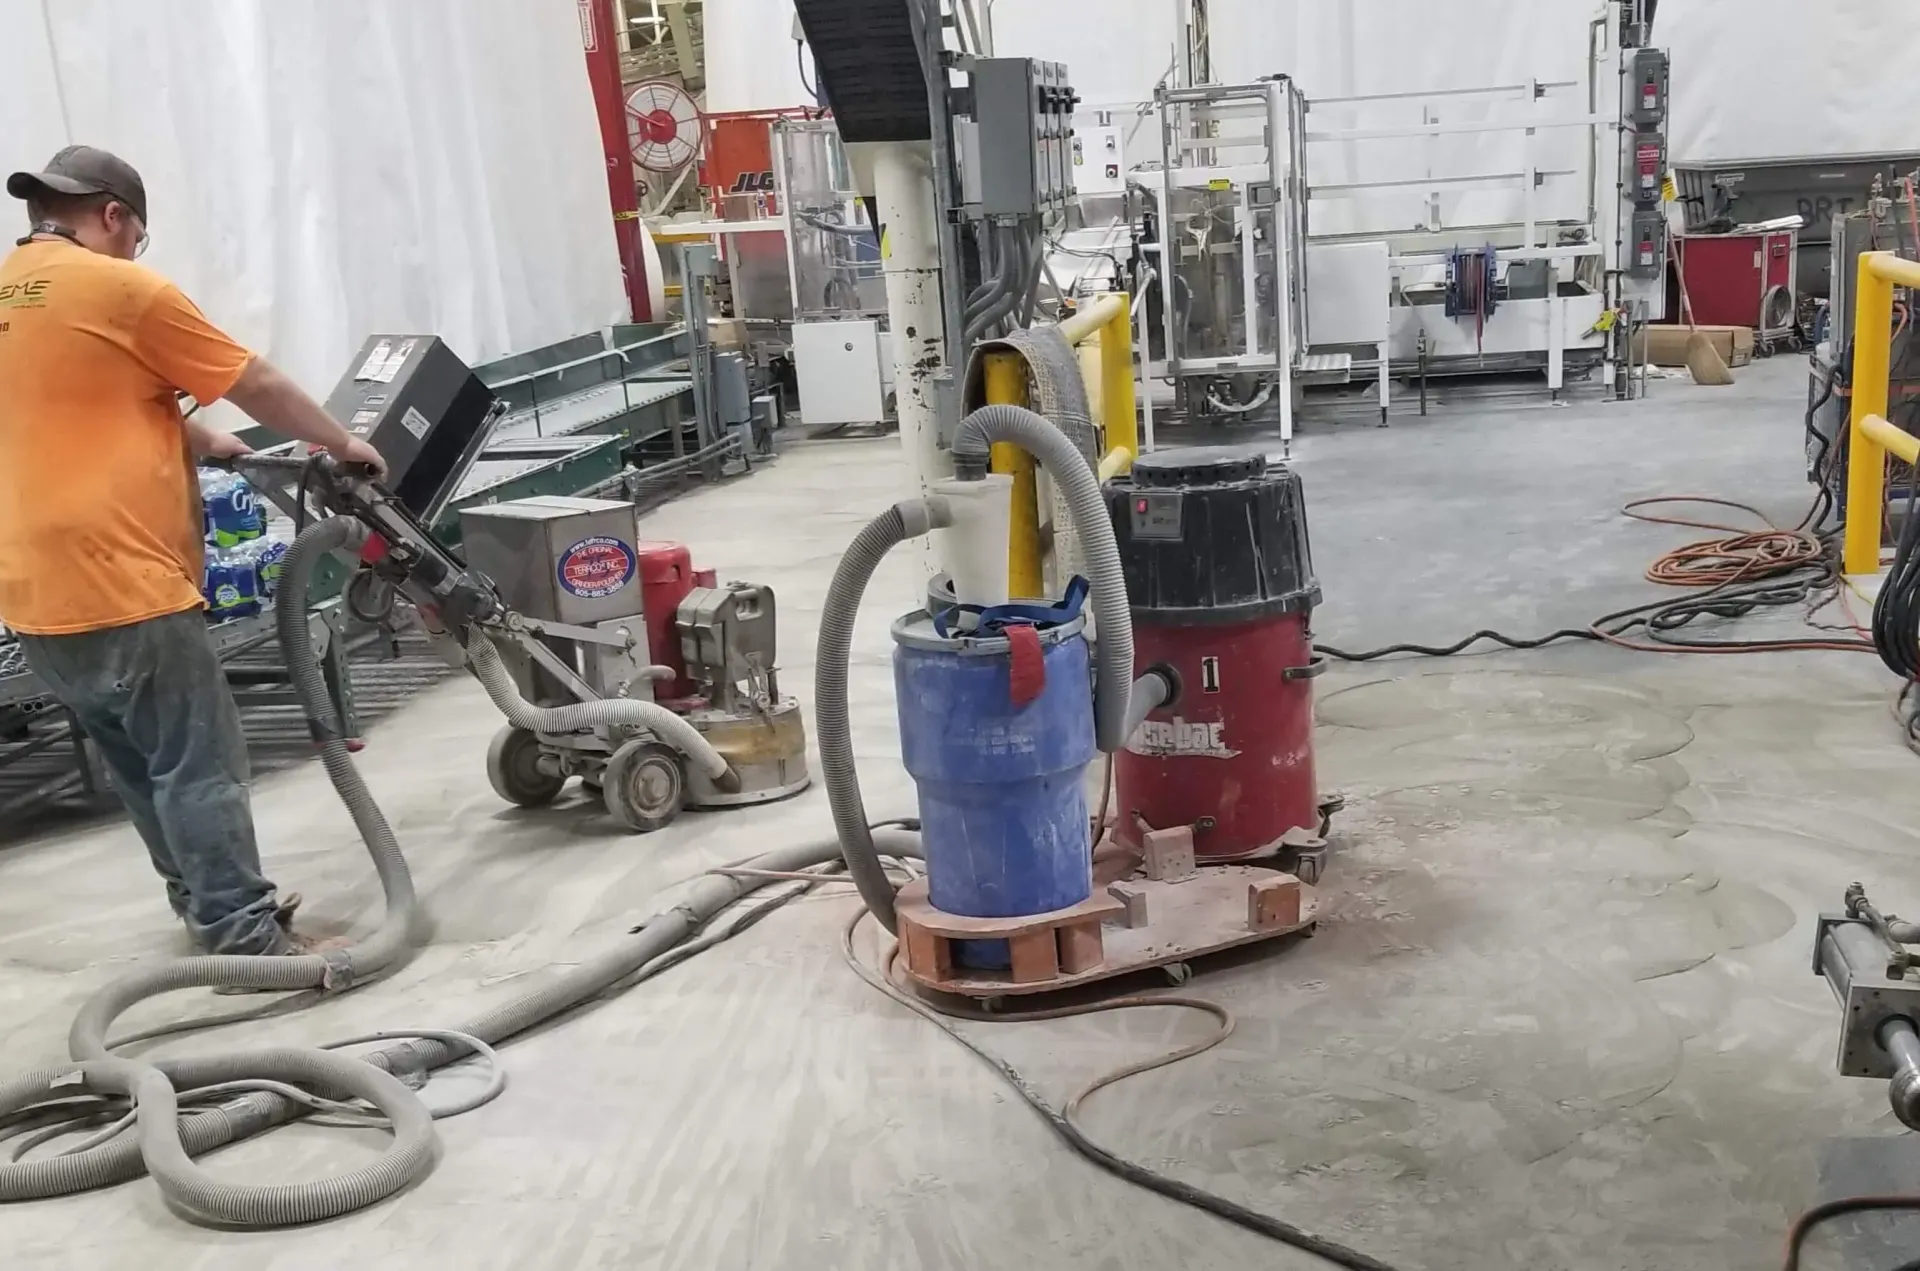
Step 3. Mechanically Prepping the Surface
Techniques such as diamond grinding, shot blasting, or scarifying create the recommended surface profile. These methods help remove contaminants allowing the flooring to adhere securely.
Pro Tip: Always choose the right preparation method for your substrate. For example, shot blasting is ideal for heavy-duty industrial flooring, while grinding works well for areas needing a thinner epoxy coating system.
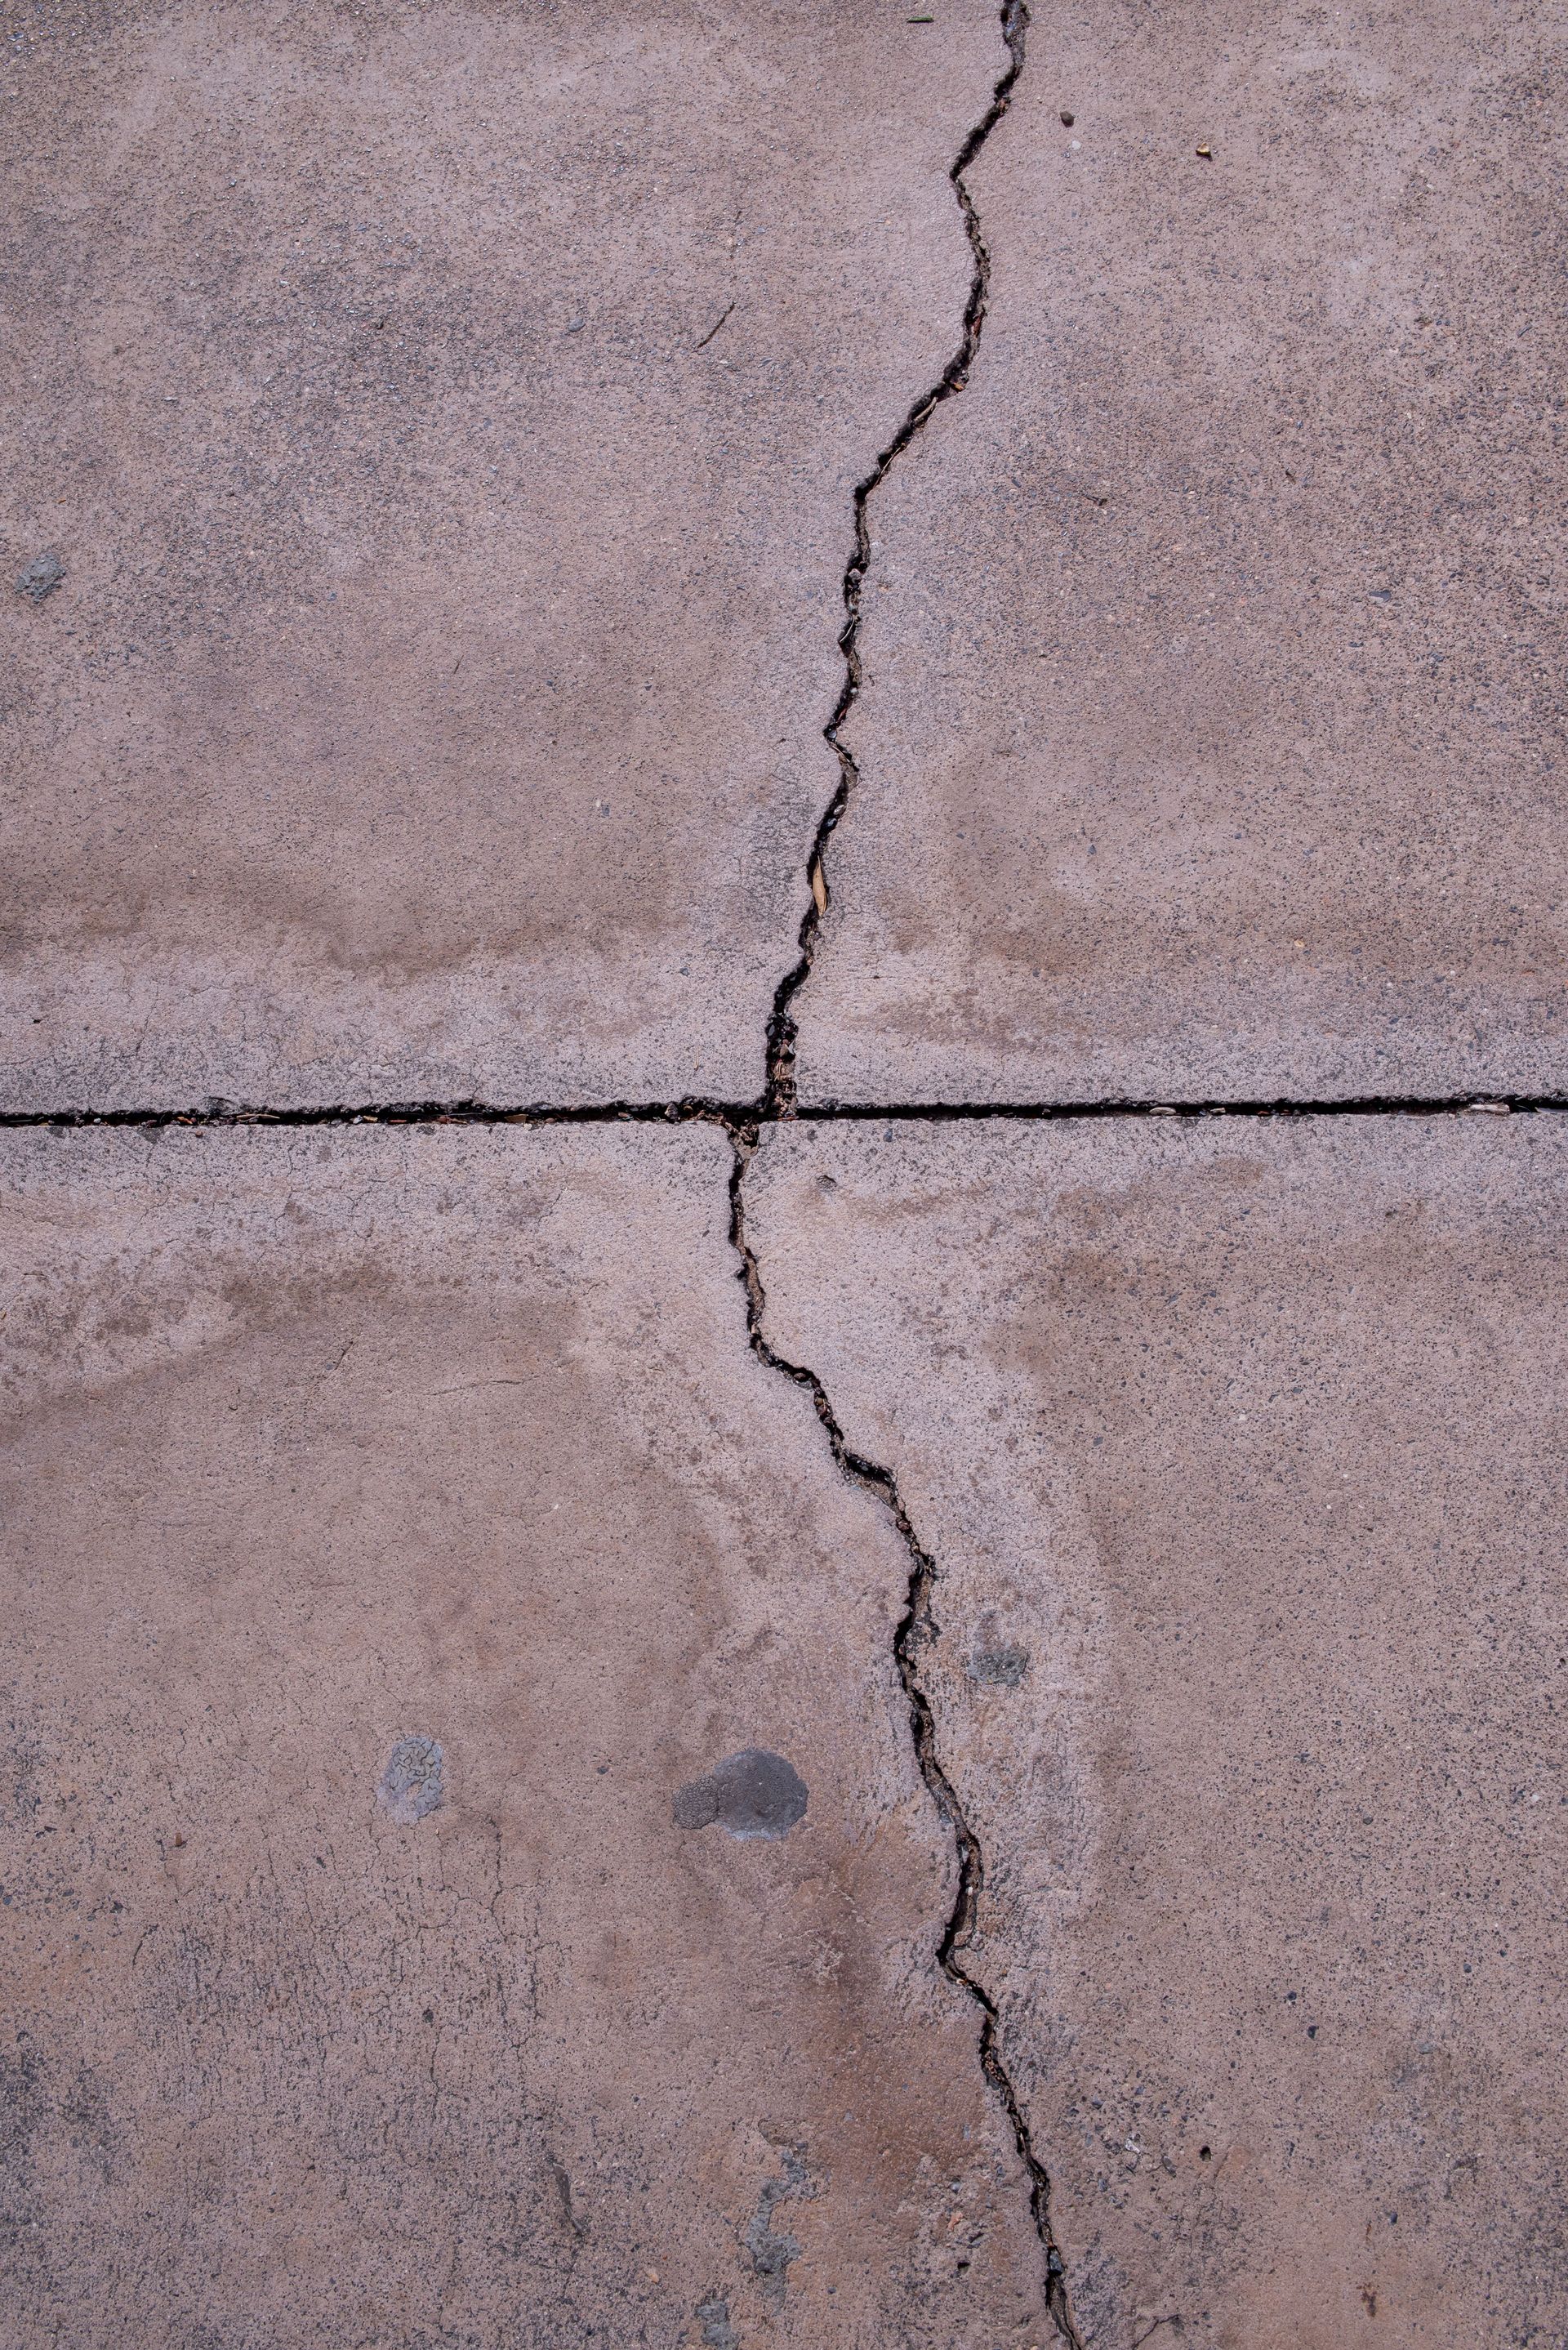
Step 4. Repairing Imperfections
Cracks, holes, or uneven areas are patched and smoothed out. Ignoring these defects can compromise the performance and overall aesthetic of the flooring system down the line.
Step 5. Moisture Testing
Excess moisture in concrete can prevent coatings from bonding properly. A professional flooring contractor makes sure the surface has a relative humidity (RH) level suitable for the specific system to be installed.
Did You Know? Concrete is naturally porous and can retain moisture for months after being poured. That’s why accurate testing is essential to avoid flooring failures.
Pro Tips for a Perfect Surface Prep
- Start with the Right Team: Hire qualified and experienced professionals who understand the specific requirements of your project. Surface prep is not a one-size-fits-all process.
- Don’t Skip Moisture Testing: Even a small amount of excess moisture can ruin an entire flooring system. Testing is critical, especially for new concrete or environments with uncontrolled temperatures.
- Invest in Quality Equipment: Professional-grade tools (like shot blasters and diamond grinders) provide consistent results and reduce prep time.
- Mind Your Timeline: Good surface prep takes time and should be factored into your overall project schedule. Rushing through this stage can result in problems later.
Pro Tip: If you’re on a tight schedule, ask your flooring contractor about fast-cure technologies to expedite your flooring application.
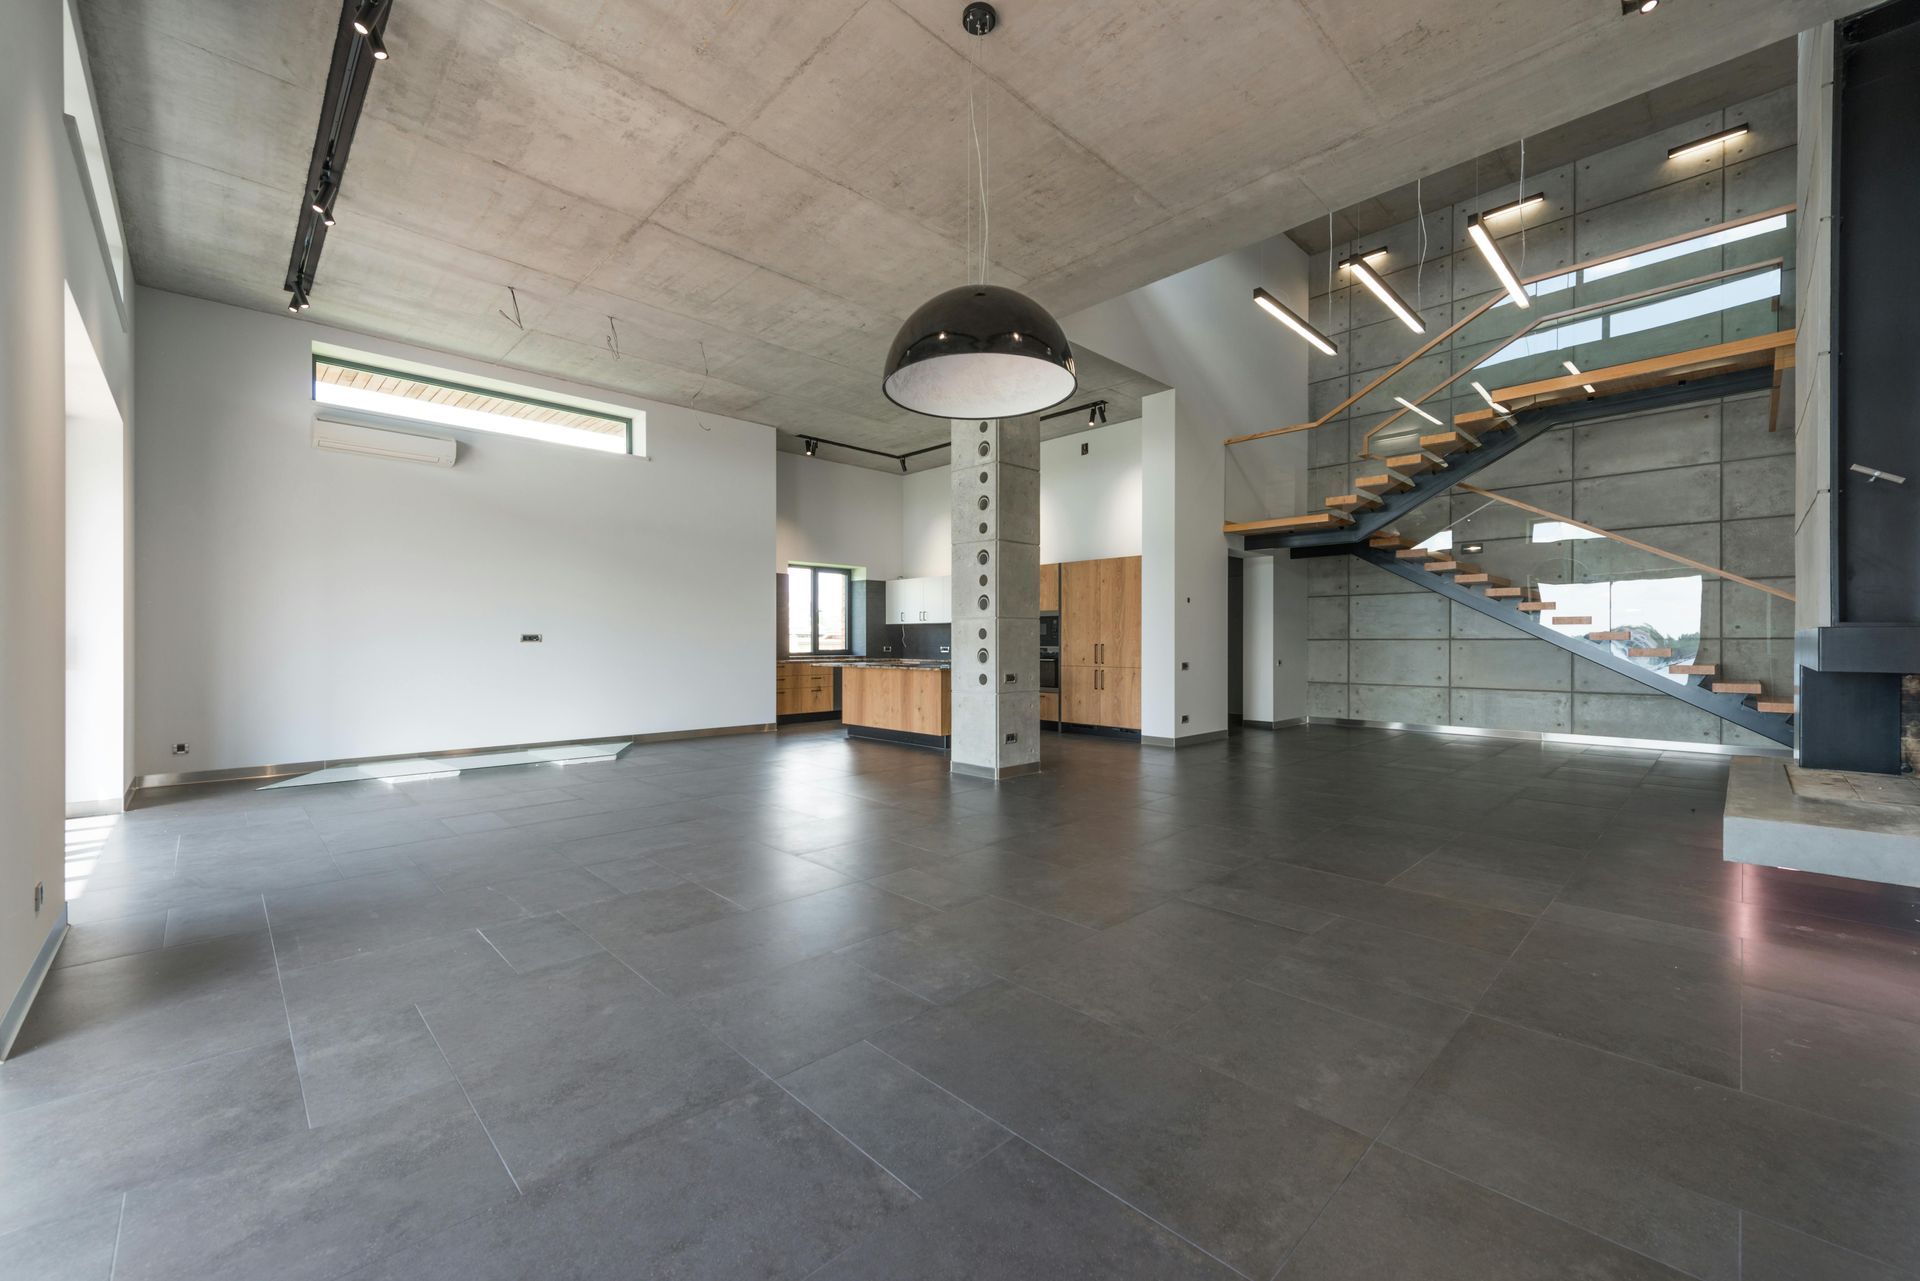
Long-Lasting Floors Start Here
Whether you’re installing epoxy, urethane, polished concrete, or decorative overlays, surface preparation is the foundation for success. Proper prep not only provides durability but also protects your investment, minimizes long-term maintenance costs, and improves overall safety.
Did You Know? A well-prepped concrete surface can extend the lifespan of a commercial floor by up to 50%, saving businesses thousands in replacement costs over time.
When it comes to commercial flooring, the details matter. At Extreme IFC, we have decades of experience in professional surface preparation, offering tailored solutions for industries ranging from manufacturing to retail. Our team uses advanced equipment and proven techniques to make sure every project starts off on the right foot.
Contact Extreme IFC today to learn how we can prepare your commercial floors for success!
What happens if surface preparation is skipped before installing commercial flooring?
Skipping surface preparation can lead to poor adhesion, resulting in peeling, cracking, or complete failure of the flooring system. It also increases the risk of uneven finishes, safety hazards, and costly repairs down the line.
Is surface preparation required for all types of commercial flooring systems?
When performed correctly by a professional, surface preparation methods like grinding or shot blasting will not damage the substrate. However, improper techniques or excessive preparation can cause surface cracks or irregularities, so it’s important to have a qualified contractor to avoid any structural issues.